Tiles Survive Tile Exploration Tutorial: Expanding Safely
 EXPLORE SAFELY
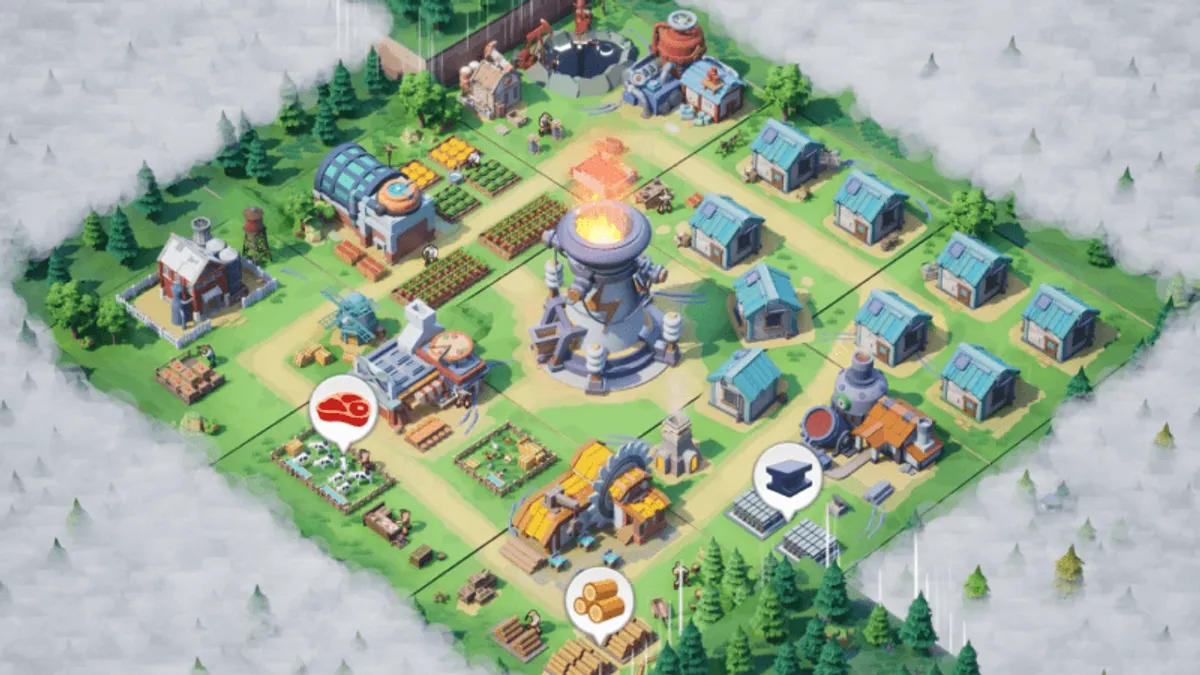
Tiles Survive! takes place on a grid of tiles that you explore, unlock and develop. Expanding brings new resources and opportunities, but it can also stretch your settlement thin. This tutorial walks you through a safe, repeatable approach to exploration.
What Tiles Do
Each tile is a piece of the world. Depending on its type, it can:
- Provide resources.
- Offer places to build or develop.
- Present obstacles or threats.
- Progress missions and story objectives.
Treat tiles as investments: they cost effort and give returns when you can use them.
Step 1: Check Your Base First
Before exploring, ask:
- Is food production stable?
- Do I have enough power?
- Is storage not full?
- Are survivors healthy and busy?
If the answer to any of these is no, fix that first. Exploration drains resources and attention.
Step 2: Identify Your Need
Different tiles serve different purposes.
| Need | What to look for |
|---|---|
| Food shortage | Tiles that boost hunting or farming |
| Lumber shortage | Tiles with trees or timber |
| Power shortage | Tiles that support energy |
| Space | Tiles with room to build |
Aim for the tile that solves your biggest problem rather than the nearest one.
Step 3: Prepare Survivors
Exploration may require assigned survivors or resources.
- Pick survivors whose roles suit the task.
- Do not pull workers from critical production without a replacement.
- Keep a reserve of food and supplies.
Step 4: Expand in Small Steps
Resist the urge to unlock everything at once.
- Unlock one tile at a time.
- Develop it before moving to the next.
- Check your economy after each expansion.
If production dips, pause and rebalance.
Step 5: Weigh Reward and Risk
Every expansion has a cost.
- Reward: new resources, progress, unlocks.
- Risk: threats, higher consumption, workload.
Ask whether you can handle the risks right now. If not, wait.
Step 6: Develop the Tile
After unlocking, put it to work.
- Build structures that use the tile’s strengths.
- Assign survivors to utilise it.
- Make sure power reaches new buildings.
An undeveloped tile gives you nothing.
Step 7: Review
After each expansion, review:
- Did my resource balance improve?
- Do I need more survivors or power?
- What is the next best tile?
Handling Threats
Threats exist in a survival game. To handle them:
- Keep your base upgraded and your survivors healthy.
- Do not expand into danger without preparation.
- Use heroes or special survivors where they help.
Common Mistakes
- Expanding before the base is ready.
- Ignoring power for new buildings.
- Unlocking tiles without a plan.
- Pulling too many survivors away from production.
- Forgetting to develop new tiles.
Exploration Checklist
- Food, power and storage are stable.
- I know what I need from the next tile.
- Survivors are assigned.
- I have a plan to develop it.
- I will review afterwards.
Sample Exploration Cycle
| Phase | Action |
|---|---|
| Prepare | Stabilise economy |
| Explore | Unlock one tile |
| Develop | Build and assign |
| Review | Rebalance and plan the next |
Worked Example
Imagine your food production is fine but upgrades keep stalling because lumber runs short.
- Confirm power and storage are healthy, so the problem really is lumber.
- Look for a nearby tile that offers timber or supports lumber gathering.
- Assign a lumberjack-role survivor and make sure the base still has enough hunters and chefs.
- Unlock and develop the tile, then wait a short while and watch whether lumber income improved.
- If it did, move on to the next bottleneck. If not, rebalance roles before exploring further.
This loop of diagnosing, expanding, developing and checking keeps exploration purposeful instead of random.
Conclusion
Exploration is how Tiles Survive grows, but it should be paced. Prepare your base, pick tiles for a reason, expand step by step and develop what you unlock. Do that and your settlement will grow steadily without collapsing.